It is important to make sure your profile is correctly set up. In this regards you have a couple options to set up your Job Title.
First go to your Kara Connect workstation and log-in using your credentials
Once logged in
- Go to the top right corner where your name is
- Go to Settings > Professional Information
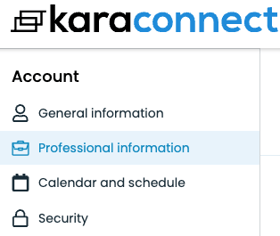
Under the Job Title section you have two options:
- Select your job title from the dropdown menu
- Type your job title
Pro Tip: You can have up two 2 job titles in the same field. (This is optional)
Select your job title from the dropdown menu

- Click Edit
- Under the Job title start typing and a list will appear, you can select from the list your Job Title
- Click Save
If you don't see a job title that represent your services, keep reading
Type your job title
- Click Edit
- Under the Job title start typing and continue typing
- Once you are happy with your job title Press Enter
- This will set up your own job title without the requirement to pre-select it from the list.
- Click Save
Please note: You don't need to click on the role that you typed, you can simply press the "ENTER" key in your keyboard as soon as you finish typing your Job Title.
-gif.gif?width=598&height=647&name=chrome-capture-2023-9-20%20(1)-gif.gif)
You have two Job titles you want to display? Keep reading
Two job titles (optional)
You operate your practice on two different fields that require two different job titles? No problem you can select two job titles or type two job titles (if you can't find them in the list.
- Click Edit
- Under the Job title start typing
- You can select a job title or type both job titles
- If you are selecting a job title please follow the first part of this article
- If you are typing both job titles you can follow the second part of this article
- If you are selecting one job title and typing the next one, you can do that as well.
- Once you are happy with both job titles: Press Enter
- Click Save
-gif.gif)