We're constantly trying to make the Kara Connect workstation easier to navigate for our professionals, so we really hope that you find it easy to use. Having said that, it might take a few days to get the hang of things, so the purpose of this article is to help you understand the booking process, starting with your very first booking.
Best Practices for managing your first booking
Regardless of how you book your first session with a client using Kara Connect, there are a few best practices that you should always follow to ensure there are no misunderstandings along the way!
Email the client
Keep an open channel of communication with your clients. You will have all of the details they submitted available, so it is important to keep in contact with them.
- You can find the client's details by navigating to Clients in your Kara Connect workstation (as per the GIF below) and then searching for them.
It's always worthwhile to email or call the client a few days in advance of the session to re-confirm the correct time and date for your session in order to leave no doubt.
-gif.gif)
Double-check the client details
Double-check that the client's name, email and phone number are correct by checking their details in the Clients section of your Kara Connect account (as per the above GIF).
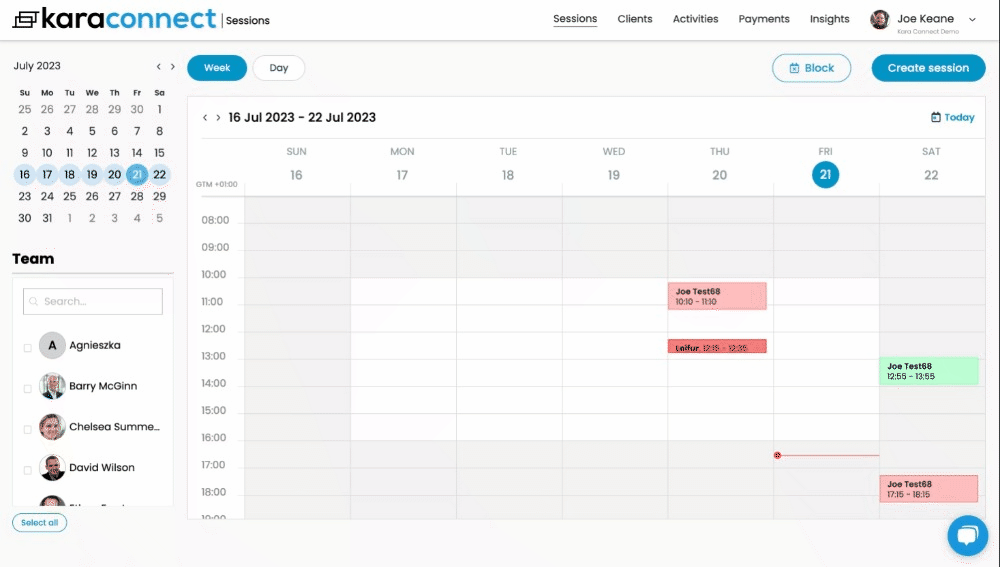
Check the session details to ensure the time and service are correct
Check the session confirmation email or click into the appointment in your calendar in Kara Connect (as per the GIF below) to ensure that the client details and service chosen are correct.
-gif.gif)
Ensure that you have the correct timezone set in your account
Ensure that you have the correct timezone set in your professional Kara Connect account by following these easy steps.
Bookings from Wellbeing Hub clients directly going into your Kara Connect Sessions Calendar
If you receive a booking from a client through a Wellbeing Hub, you will receive a confirmation email from notifications@karaconnect.com confirming the session details, as per the image below.

You can log in to your professional Kara Connect account through the link in the session confirmation email above.
Upon logging in, when you navigate to the date in your Kara Connect calendar, you will be able to see the session that the client has booked, as per the image below.

To access the session when it's due to take place, you just need to click on the session in your calendar and click Open session. This will bring you directly to the session, at which point you'll be able to login to the session and join your client.
After your Video Call: Increase your bookings and stay on top of your schedule with our In-Call booking Feature!
For more information go here.
What if a client who is using sponsored credits through a Wellbeing Hub is a no-show or cancels with less than 24 hours notice?
Under our Wellbeing Hubs programme, you are entitled to charge clients for No Shows or Late Cancellations.
If you receive a late cancellation or the client never showed up, please follow the steps outlined in this article.
If you are "On Request" (no availability) in a Wellbeing Hub and receive a Service Request
If you are currently participating or on our waitlist for our Wellbeing Hubs programme and you have no availability but you are taking clients "On Request", the following explains how to process service requests accordingly.
(Please note: It is not recommended to be On Request because this will limit your availability and exposure in Wellbeing Hubs. For more information go here.)
- In your Kara Connect account, click the Clients tab.
- Click Requests on the left-hand side.
- Click the eye symbol on right-hand side of the client's name.
- Click Accept request.

- Now that you have accepted the client's request, please refresh the page.
After refreshing the page, click Clients in the top-left of your screen. The client will now appear in your list of active clients and you will be able to book a session with them.-gif.gif?width=688&height=389&name=chrome-capture-2024-8-13%20(1)-gif.gif)
When a client requests your services, the client will receive two emails:
- The first email will inform them that they have requested your services.
- They will receive a second email when you accept their service request.
⚠️ Please Note: You still need to book their session and manage their request as explained here.
The "acceptance" of the request is NOT a booking. The client will have NO booking scheduled until you process the request and create a time and date session in your calendar.
Client Confirmation Emails for Service Requests
Service Request Service Request Accepted


Bookings from clients who request your services through a link from your own website using Kara Connect (Outside our Wellbeing Hubs Programme)
Learn more here.
If you have shared your Direct sign-up link with prospective clients (from the Client Access tab in your Settings) on your website or via other methods (as per the image below), clients will request a service from you directly when they click the link.

When the client requests the service from you, they will appear under Pending in the Clients section of your Kara Connect workstation, as per the image below.
When you click Accept request, the client will receive an email to inform them that you have accepted their service request.
You can then go to the client's profile, in which you will be able to find their contact details (email and phone number if they provided it when they created their client account).
You will also be able to create a session for the client by going to Clients and then going to their profile.
Once you're in the client's profile, click +Add and then follow the steps to book a session with the client (as per the GIF below).
-gif.gif)
Once you have booked the session, the client will receive a session confirmation email with the details pertaining to the session.
How to create a new booking with a client
Creating a new booking with a client is quite straightforward.
1. In the Sessions page of your Kara Connect workstation, click Create session in the top-right.
2. If the client is a current client, select them in the dropdown menu under Client.
Please note: You can also add a new client in the dropdown menu under Client by clicking + Add a new client.
3. Fill out the respective fields relating to the session: Type of session, Service, Date, Start time, End time, Repetitions (optional), Resources (optional), Notes (optional).
4. Click Save.
Your client will receive a session confirmation email with the details pertaining to the session.
-gif.gif)
How to cancel a session with a client
While it's preferable to never have to cancel a client session, there are of course occasions where we have to do this. This can be easily done by taking the following steps:
1. In the Sessions tab, click into the relevant session in your Kara Connect calendar.
2. In the pop-up screen relating to the session, click the Bin icon.
3. Choose the reason for cancelling the session (optional) and if you would like to delete information about the session (optional) and click Confirm.
4. You will then be asked if you would like to send a notification of the session cancellation to the client. We advise that you should click Send here to ensure that the client is notified.
-gif.gif)
How to edit the details of a client session / Re-book or move the session to another date.
If you need to change the date/time/service type for a client session, please do the following:
1. In the Sessions tab, click into the relevant session in your Kara Connect calendar.
2. In the pop-up screen relating to the session, click the Pencil icon.
3. Edit the details that you need to change for the session and click Save.
The client will receive an email notifying them that the session details have been changed.
-gif.gif)
Payments under our Wellbeing Hubs Programme
For information about Payments, Sponsored Credits, and more go here.